
First things first. You're going to need two buckets. One bucket filled with warm soapy water, a sponge, and a couple brushes. The other bucket should have some bio-degreaser, a brush, and a tough sponge (Not shown. Do not use the same sponge for the degreaser and the soapy water)

Next you'll need a bike stand. You can do it without one. But it is infinitely harder.
Go ahead and mount the bike in the stand and remove the front wheel. But leave the back wheel in for the cleaning of the drive train.
 |
| I also get the big stuff off of my racing kit at the same time. It's much easier than having my SSHW try and choke me to death with it when I try and slip it in the laundry this way... |
 |
| Another VERY important tool in bike cleaning is beer. |
 |
| Yes, those are my socks... |
Once you've blasted all the big dirt off your bike and wet down everything else it's time to focus on the drive train.

With a sponge soaked in the degreaser of your choice (I like Simple Green.) wrap it around the lower part of your chain and turn the cranks around and around until the chain appears to be saturated and sudsy. Then let it sit on there while you focus on the rest of the drive train parts.

Next take the brush with degreaser and scrub the cassette. Holding the brush in place while turning the crank (As in the pic above.) works well.
After you have the cassette all sudsied up, leave it until you're done scrubbing on the front crank and derailleur as well.
Once all that is done rinse off all the degreaser and see what is left. You may need to go through this whole process again a time or two to make sure it's sparkling clean.
Go ahead and remove the rear wheel for the rest of the washing process.
Now its time to start the frame...

Always start with the bar tape. Because if you have white bar tape you want to make sure you still have clean soapy water. Not nastied up stuff.
After the bar tape go to the cable housings.

From there you go to the head tube, fork and front brakes. Make sure to do your best getting in all the nooks and crannies. A large bottle brush works great for those hard to reach areas.

From there you do the top tube, the seat, seat tube and down tube. Making sure to work from the top of the bike to the bottom.
 |
| Make sure to get under the seat and around the rails as well. |

 |
| Yeah, I probably should have been raking leaves. Meh, I'm lazy I guess. |


Once you've got all those areas scrubbed go ahead and lightly hose down the entire bike. Again being very careful of the areas with bearings.
Now it's time to turn our attention to the wheels. With a large bristled brush and warm soapy water give the entire wheels a good scrubbing. Giving extra attention to the braking surface of the rim. You want to make sure that any grit or grime doesn't stay embedded in there.
 |
| I would normally be holding the wheel while I do this. But because of the photo I'm not. |
Make sure to get on the inside of the spokes and around the hub as well.

Spray the wheels down and put them back on the bike.If you have access to an air compressor and a blower nozzle use that to blast away any water on the bike. Taking special care to get rid of any water in bolt heads or depressions in the frame where water can sit and rust parts. Blast air threw the chain links on the chain and coggset as well.
If you don't have access to an air compressor go ahead and use a clean rag towel. It will take a little longer but will work just as well.
Once the bike is dry. It's time for inspection. Check the frame, fork and parts for cracks, wear or other problems. I also like to take this time to check the brake pads for any little embedded pieces of metal or debris. Use a dental pick or an awl to dig any foreign material out of there.

Do this same inspection with your tires. You would be amazed at how fewer flats you will get if you do a weekly inspection of your tires and pry out any glass, wire or rock bits before they have a chance to work their way all the way through.
Now it's lubin' time!
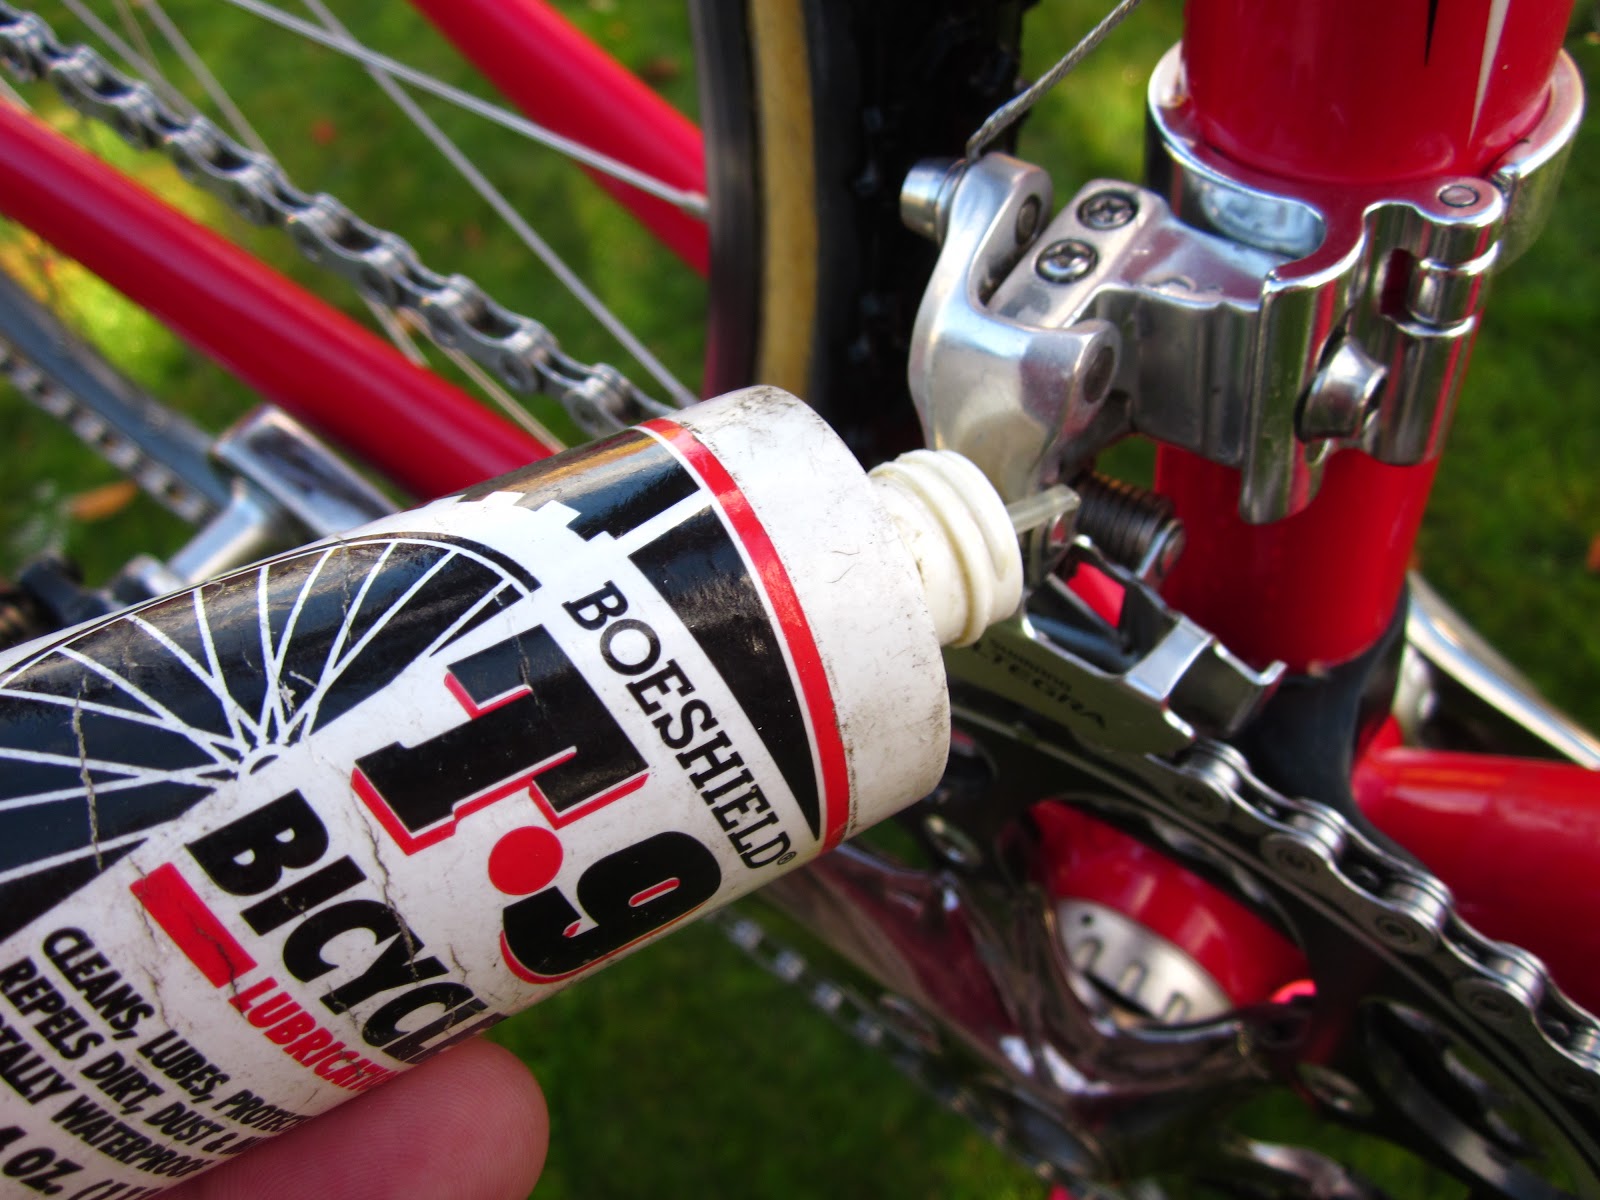 |
| Lube all the pivot points on the derailleurs. |
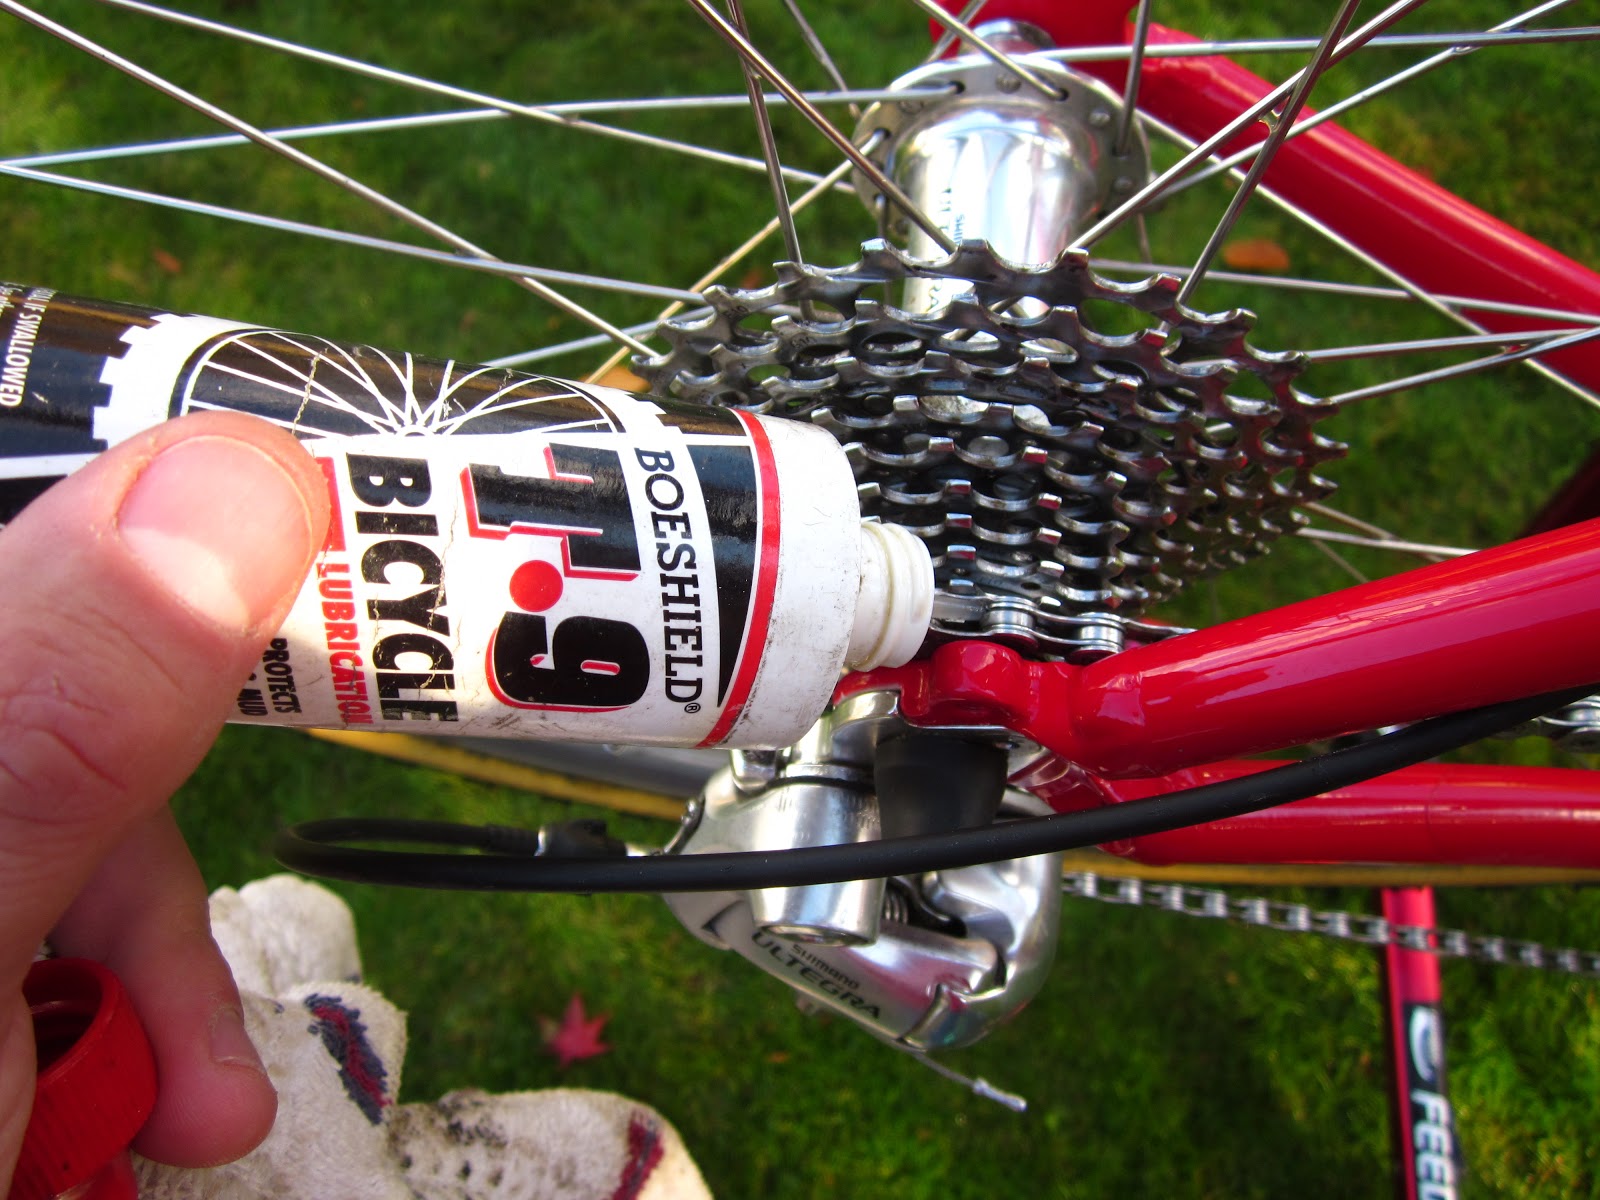 |
| As you are applying the lube rotate the chain around to make sure you get an even coast in all the pins. |
If at this point you have a particular polish or wax you like to use by all means do so.

Once that is all said and done you have yourself one bright and happy machine!
Thanks for reading.
Rubber side down,
Big E
No comments:
Post a Comment